Quản lý sản phẩm

1. Thêm mới sản phẩm
Cách 1: Import từ file Excel
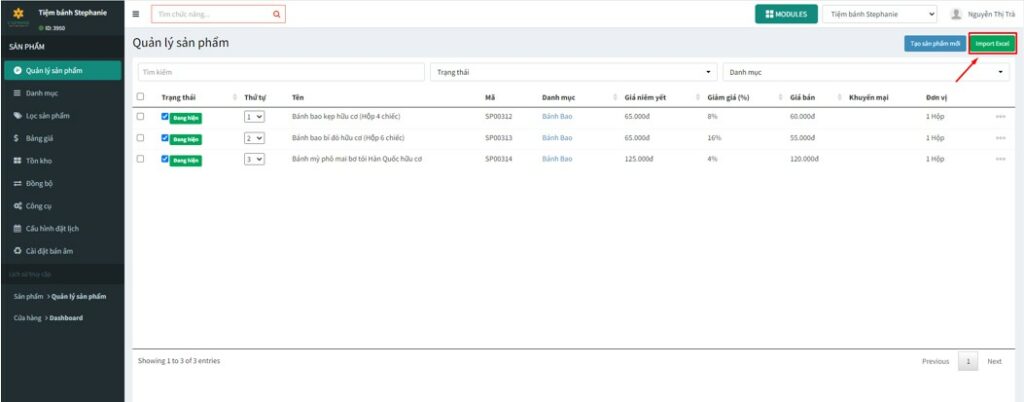
Bước 1: Vào phần quản lý sản phẩm tại modules Sản phẩm

Bước 2: Chọn Import Excel
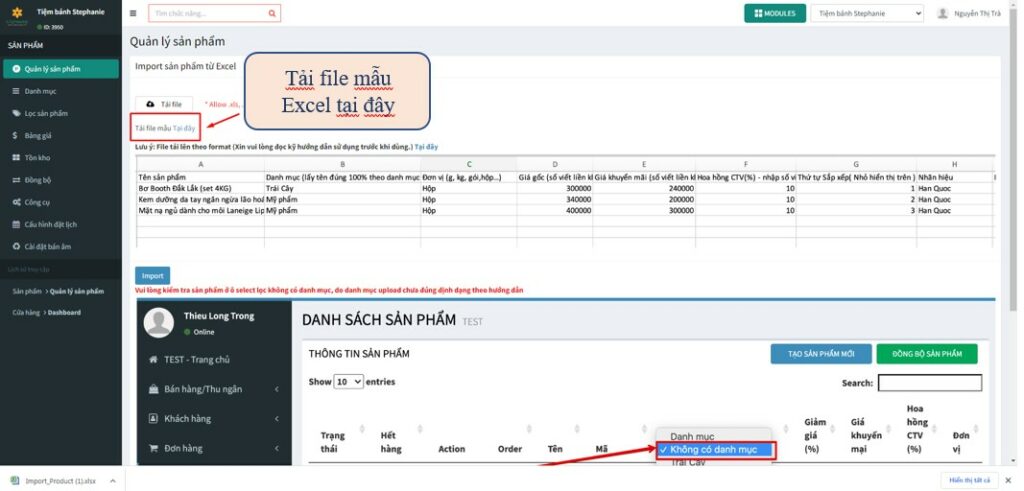
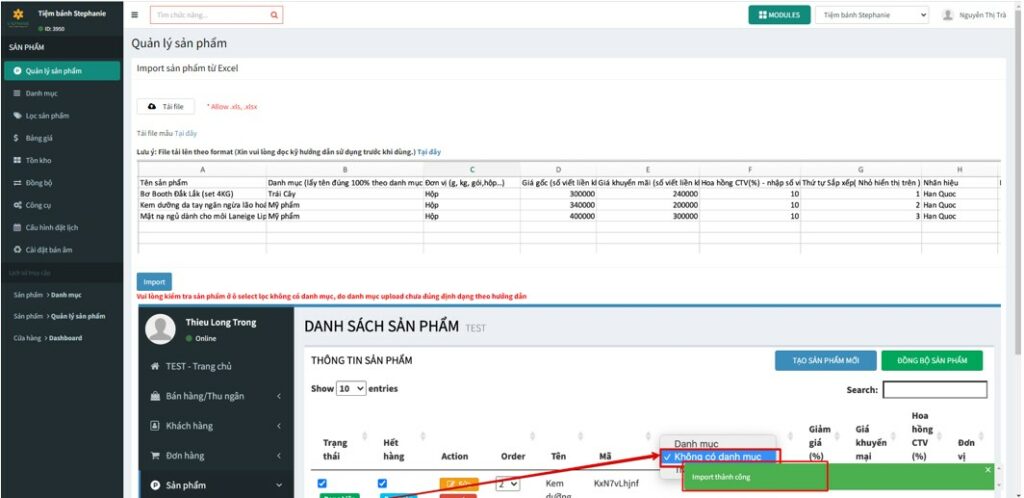
Bước 3: Tải file mẫu Excel từ hệ thống
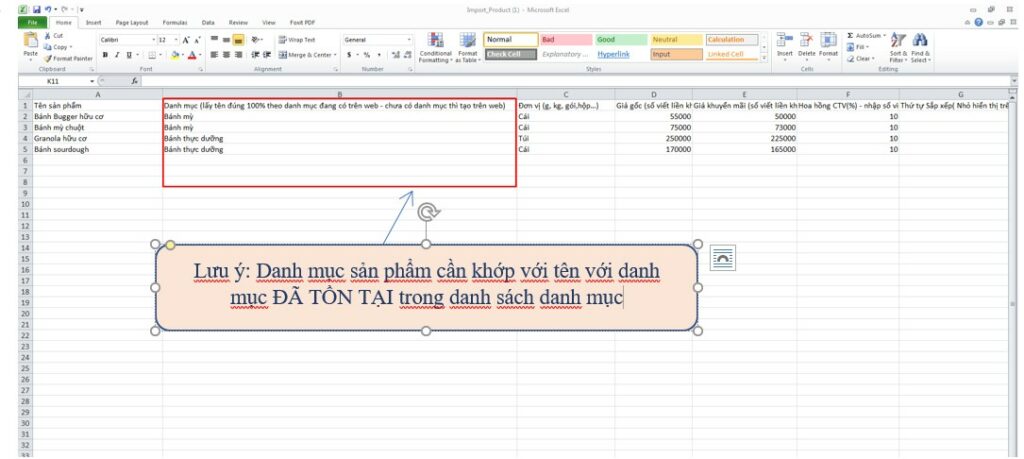
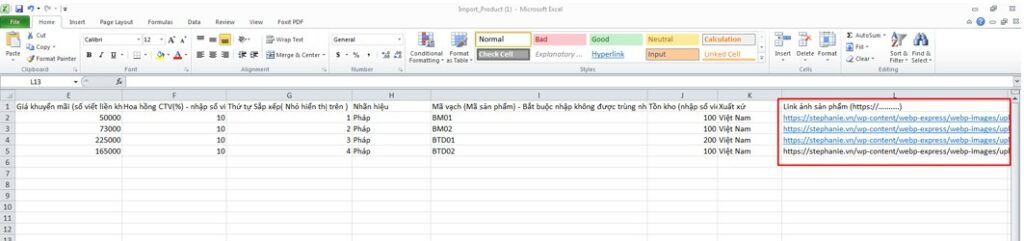
Bước 4: Mở file và nhập các thông tin đầu vào của sản phẩm như: Tên sản phẩm, danh mục, đơn vị, giá gốc, giá khuyến mãi, hoa hồng CTV, thứ tự sắp xếp, nhãn hiệu, mã vạch, tồn kho
Bước 5: Lấy link ảnh sản phẩm bằng cách click chuột phải tại ảnh, chọn sao chép địa chỉ hình ảnh (trường hợp lấy ảnh đã có trên web)

Bước 6: Dán link ảnh đã copy vào File
Bước 7: Chọn tải file và upload file đã được hoàn thiện nội dung từ máy tính lên sau đó bấm Import

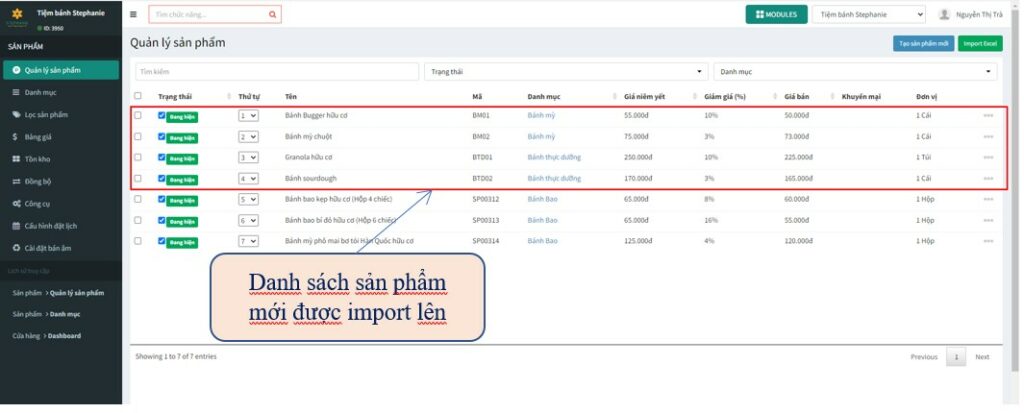
Hệ thống hiển thị thông báo “Import thành công” và danh sách sản phẩm mới đã được up lên
Cách 2: Nhập trực tiếp tại website cho từng sản phẩm
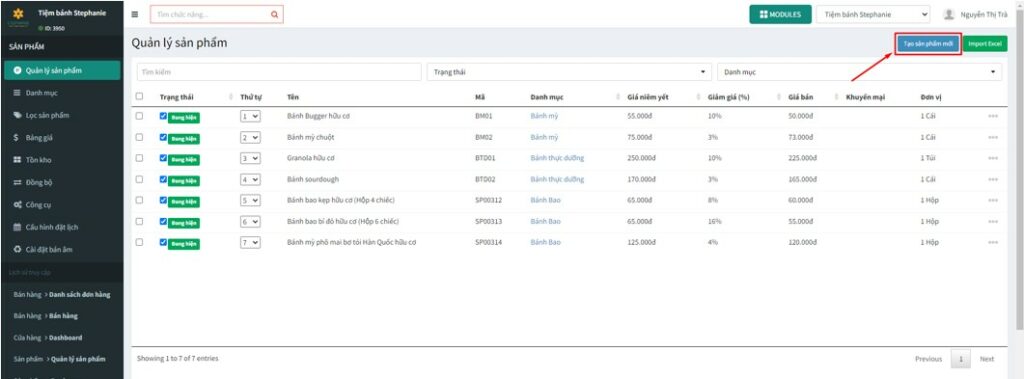
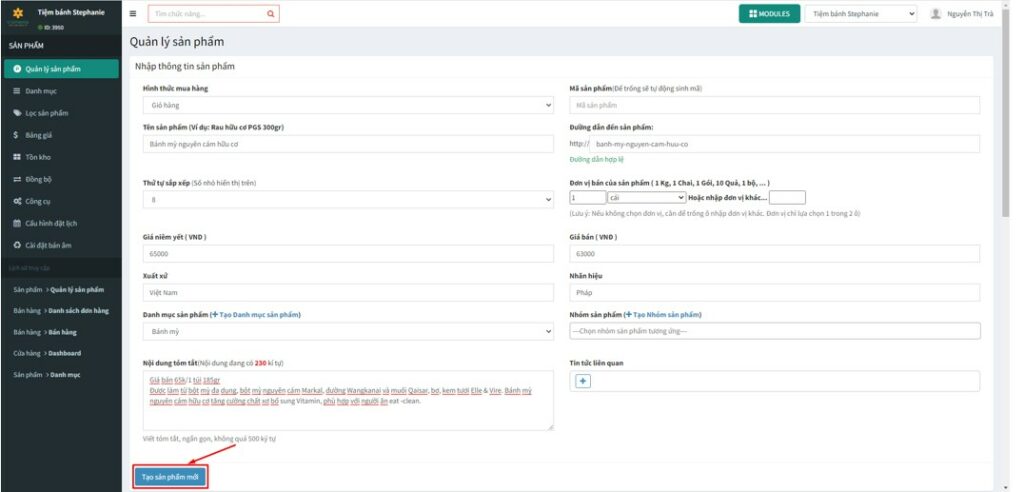
Bước 1: Tại phần Quản lý sản phẩm chọn Tạo sản phẩm mới
Bước 2: Nhập các thông tin đầu vào của sản phẩm như: Hình thức mua hàng, Tên sản phẩm, mã sản phẩm, thứ tự sắp xếp,danh mục, đơn vị bán, ảnh sản phẩm…
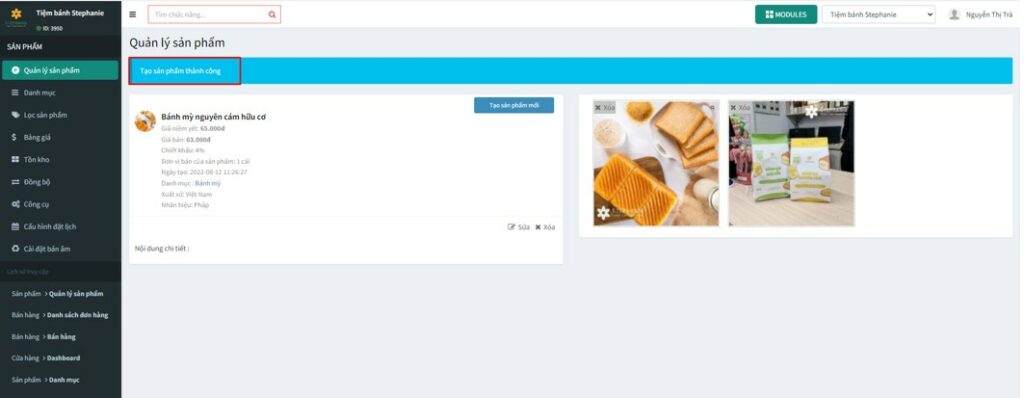
Hệ thống hiển thị thông báo Tạo sản phẩm thành công
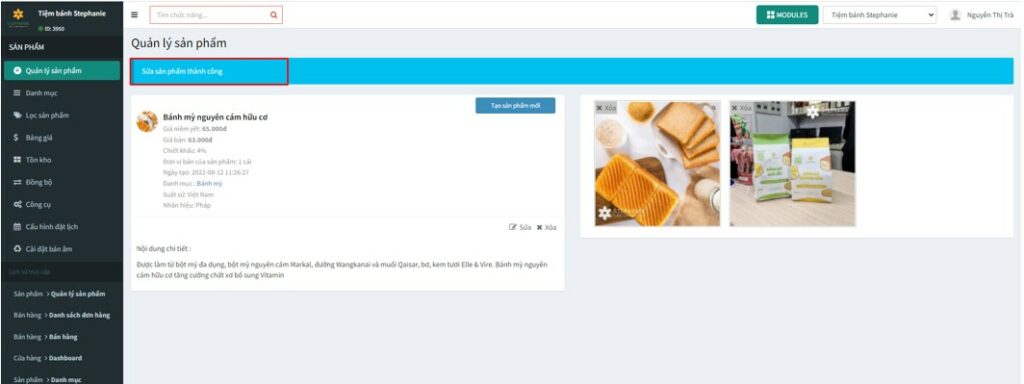
2. Sửa sản phẩm
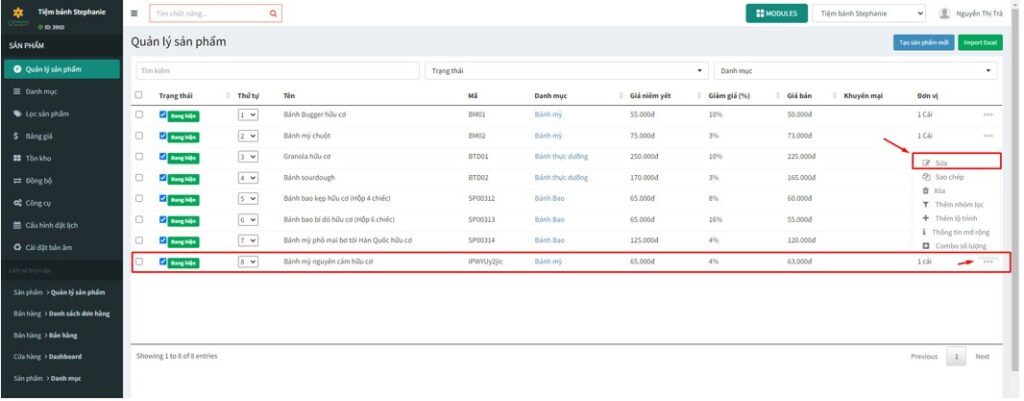
Bước 1: Click chuột vào dấu 3 chấm cuối sản phẩm cần sửa, bấm chọn Sửa
Bước 2: Sửa các thông tin sản phẩm cần thay đổi và bấm Lưu
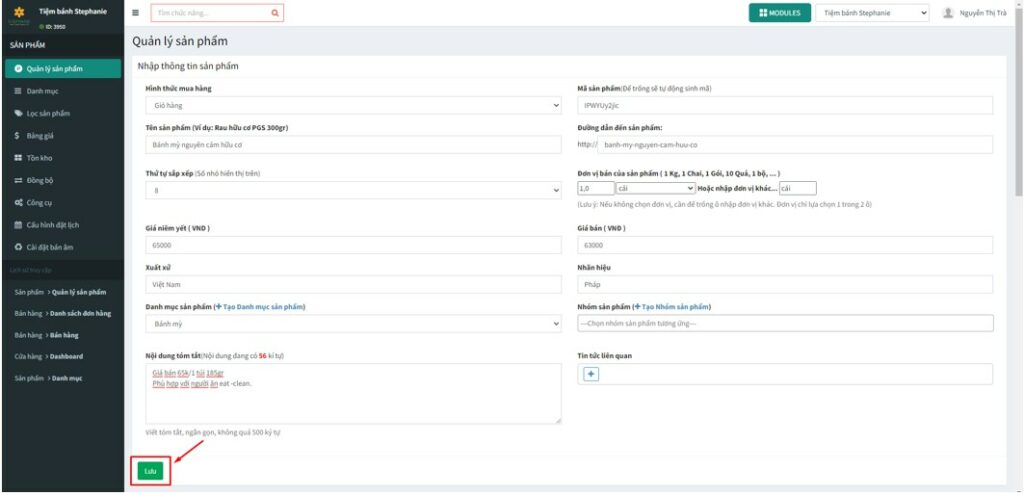
Hệ thống hiển thị thông báo Sửa sản phẩm thành công